When you work with clients (or prospective clients), you want to look your best. Let Raven software help. In a few simple steps, you can produce a professional report that lets your brand shine.
No matter what degree of branding you want in your reports, Raven has a solution. With all sorts of bells and whistles for true customization, we make sure you can do a whole lot to make an impact on your clients.
Let’s see how much you already have taken care of. Here are the top 10 ways to white label Raven.
Everything here is available to all paid Start, Grow, Thrive, and Lead accounts. If you’re in trial, you won’t have access to Preferences > White Label, however.
1. Set your custom subdomain
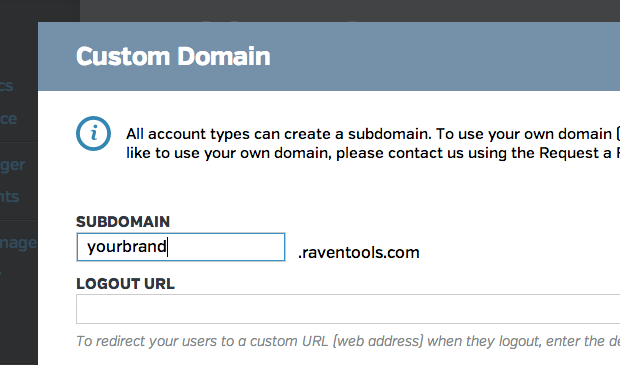
Go to Preferences > Custom Domain and add text to the Subdomain text field. Add your brand name and your custom subdomain will be yourbrand.raventools.com.
All Start accounts can use a custom subdomain, but only Grow, Thrive, and Lead accounts can opt to use a fully custom domain like yourcompany.com for an additional monthly fee.
2. Add your logo to Raven
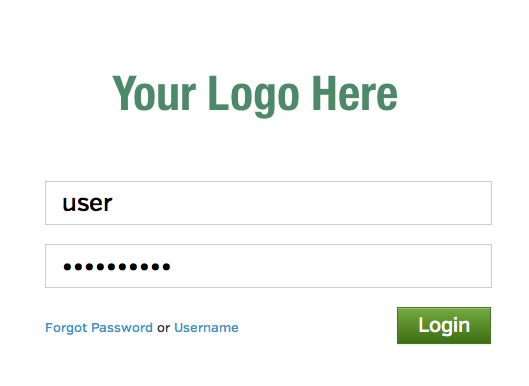
Go to Preferences > White Label and upload your logo – we recommend a high-quality transparent PNG. The logo will appear in the corner of Raven and will also appear as a larger image on your login page.
3. Add your logo to reporting
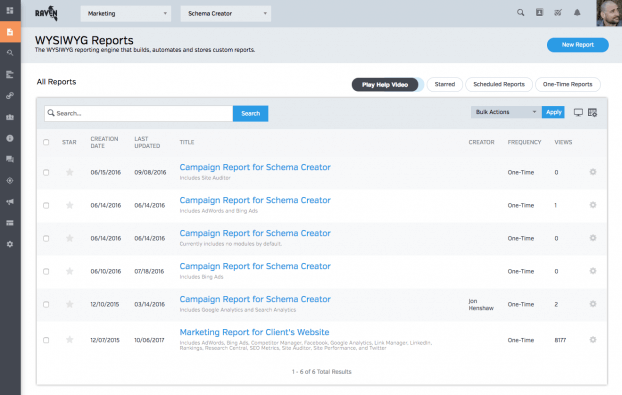
All of your reports can be branded with a logo of your choice—just click the Add Logo button in the top-left corner of your report and either upload a new logo or select an existing one. Additionally, when you turn reports into templates, the logo will come along for the ride with the rest of your report data when you use that template.
The same process works for your Dashboards as well—just click the Add Logo button to add some more branding to your Raven account.
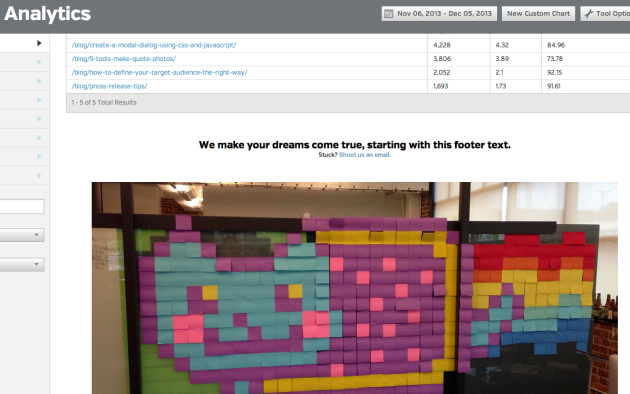
Go to Preferences > White Label and add some footer text. (If you leave it blank, it will default to a standard footer text that mentions Raven.) Leave contact information if you prefer users to contact you rather than Raven.
This section supports images if they are uploaded elsewhere, which means there’s a nice chunk of good branding space here.
5. Use read-only users rather than sub-users
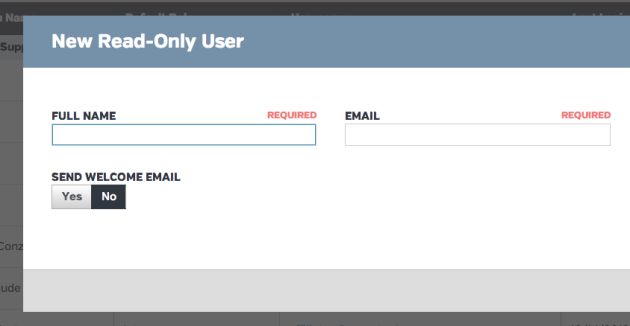
Not only does Raven allow you to add team members or contractors to your account as sub-users, it also allows an unlimited number of read-only users, so you can add your clients and let them see just what they need to.
I’ll give you an example. If you have access to manage Facebook accounts as a sub-user, then if you connect a new Facebook account, you’ll see a “Raven Tools would like permission to share data with Facebook” message.
Infrequent Raven mentions like this crop up for folks managing data in Raven. If white labeling is a higher priority than giving clients management ability, give clients read-only access instead.
6. Add a Favicon
Go to Preferences > White Label and upload a favicon.
7. Use our custom login widget
Go to Preferences > White Label to pull your custom login widget code. You will need to have a custom domain set in order to see the code.
This allows you to customize the visuals of a user logging in from a page you control. Here are the technical details.
8. Add summary text in reporting
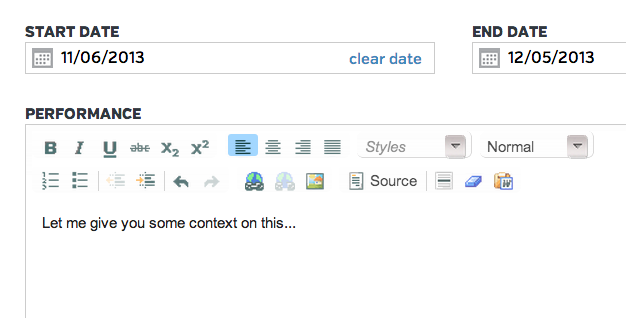
When building reports in WYSIWYG Reports, you can add Summary Text widgets to add some customizable flavor to your reports. Summary Text allows you to add context to explain the progress of your marketing campaigns, giving you an opportunity to connect with your boss or client. You can even upload and embed your own images to reports.
9. Turn off links to Raven-branded help material
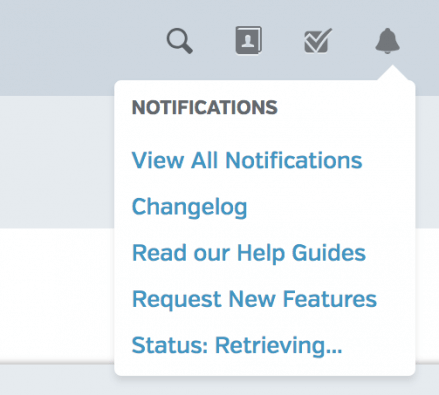
Read-only users do not have access to the Notifications icon, which allows you to contact Raven support or go to Raven-produced help material, or the embedded help widget in the lower right.
In case you decide a client should be set up as a sub-user, you can hide the Help Center icon per user. Here’s how.
Go to Preferences > Role Manager. Add a new sub-user role and set the Support option to No Access. Now you can apply this role to specific users in Preferences > User Manager. You may have to create multiple roles if different folks should have access to different tools. Or you may want to just edit a role that’s already applied to a user.
Here is how to add a new user from start to finish. Just remember to set Miscellaneous > Support to No Access when creating a sub-user role if you want to hide the Help Center icon.
10. Bonus: Get a fully custom domain
There’s one more thing for truly hardcore white labelers. If you want to eliminate the possibility that a client will ever see any Raven logo or Raven mention, a fully custom domain is for you.
To get one, you’ll need to be a Raven customer at the Grow, Thrive, or Lead levels.
All accounts can set up a custom subdomain (like yourcompany.raventools.com). But only Grow, Thrive, and Lead accounts have the option to use a fully custom domain like reporting.yourcompany.com or yourcompany.com. There is no additional cost for that custom domain—it’s part of your subscription. To take advantage of that option, drop our support team a line at help@raventools.com.
Once you have a custom domain, then complete step 2 (add your logo to Raven), step 3 (add your logo to reporting), step 4 (add footer text) and step 5 (set up all clients as read-only users) to make sure you remove everything Raven from view of your clients.
That should get you started! How many of these options are you using to share your brand’s personality with your clients?
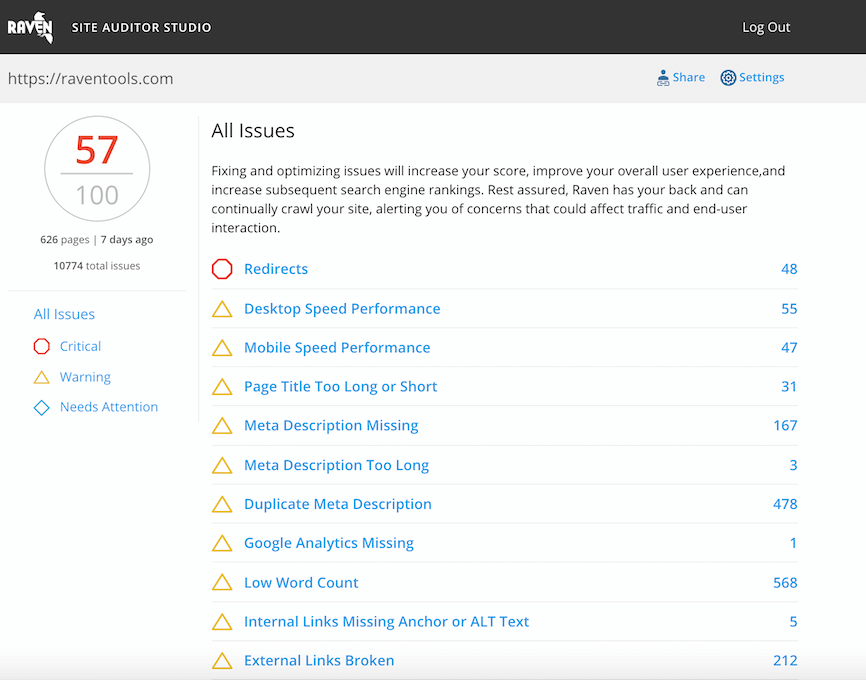
Analyze over 20 different technical SEO issues and create to-do lists for your team while sending error reports to your client.


